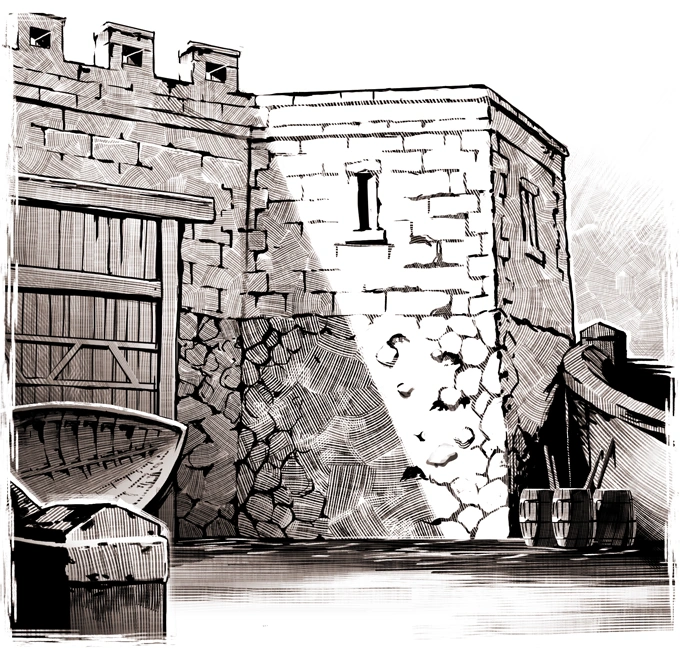
Hasongo is a location in Pillars of Eternity II: Deadfire.
Background[ | ]
Hasongo is a strategic port of the Royal Deadfire Company, being a crucial stopover point for food convoys back to Rauatai. The recent destruction wrought by Eothas has wiped it out and endangered the lifeline to the heart of the Empire. To make things worse, the heavily damaged and depopulated fort came under attack from Naga, nearly wiping out the Rauatai contingent and the Dawnstars hired by the Fleet Master to handle the fields outside the walls.
Points of interest[ | ]
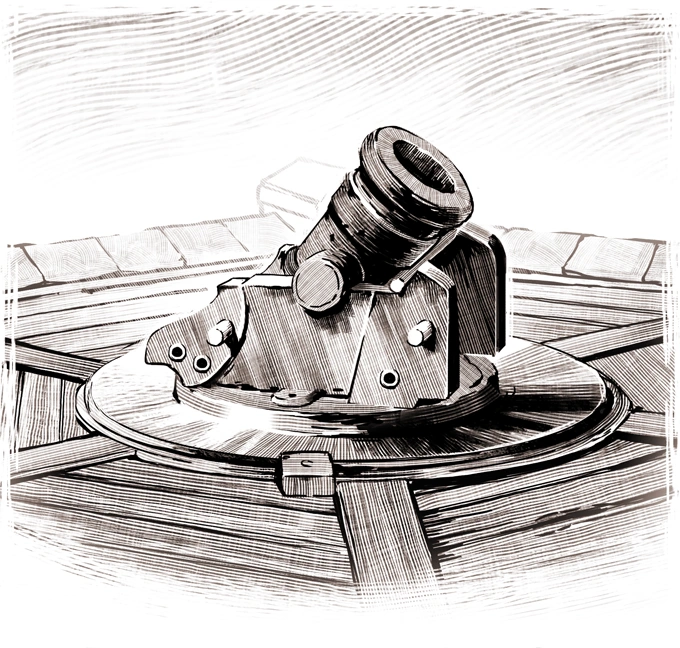
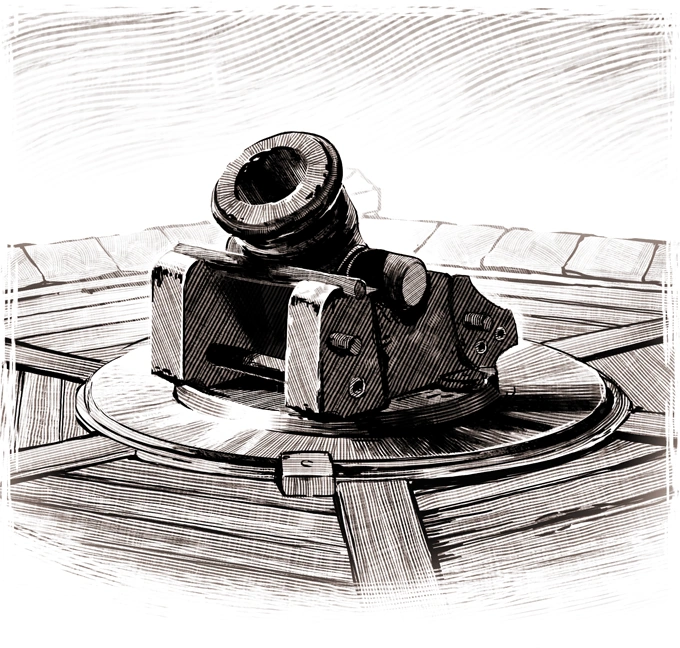
- You begin the slog through the ruins of the port in the south-eastern corner. Both Maia Rua and Edér have unique interactions when you arrive. You need to navigate the entire map in order to get through to the lighthouse, so better start early. Move off the pier and fight off the Coral nāga warrior (another comes out of the water when you approach the broken boardwalk to the west), then enter the storage tower to the northeast. Talk to Zuhira to get some intel and learn that there is still an intact bombard on the walls of the fortress.
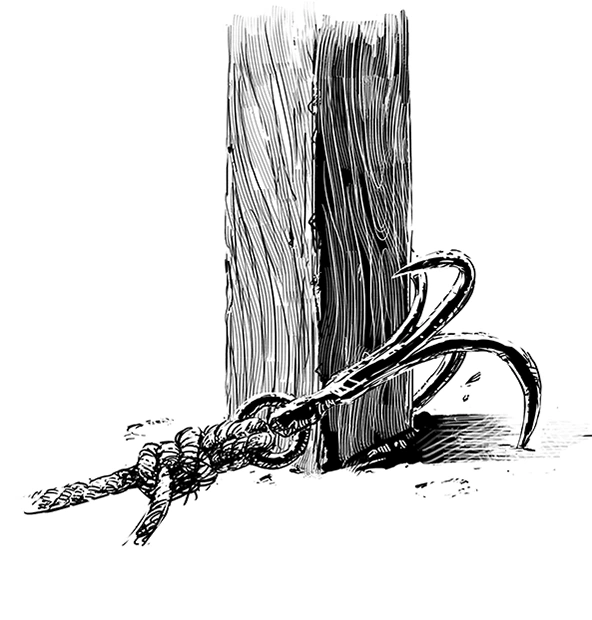
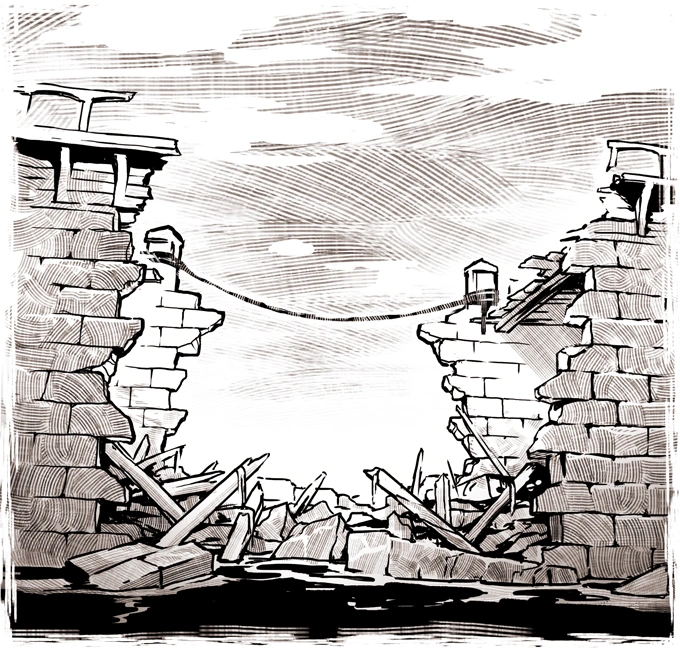
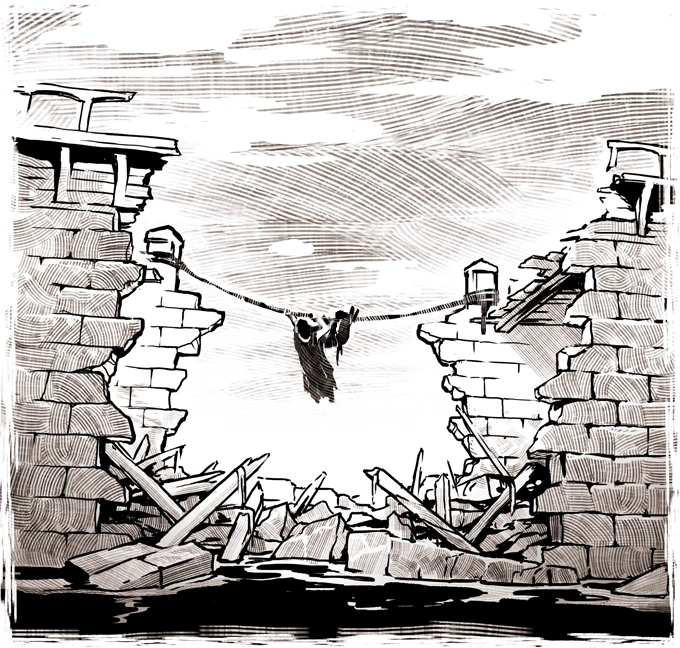
- Head north to the Cannon rampart, fighting 3x Coral nāga archers on the top of the wall (annoyingly behind a dozen or so barrels), and another warrior by the bombard itself. Movement abilities like Leap or Evasive Roll work well here to avoid having to deal with the barrels. Just west of the bombard you'll be able to cross over from the cannon rampart roof to the kitchen roof with Athletics 4 and a Rope and Grappling Hook. This helps you avoid being spotted by a nāga warrior on the edge of the water, though you can also just sneak by.
- In order to operate the bombard you'll need a few things:
- An operator, either with Maia in your party, Mechanics 10, or with the Artillerist's Manual. The manual can be found in the cannon rampart, in the area just under the bombard.
- Ammunition, found in Aimuro's workshop by the northern gate (Zuhira can give you the key).
- A way to move the swiveling mechanism, to get it pointed in the right direction. Either using someone with at least Might 18, or with Cooking Fat from the kitchen to loosen up the gears.
- The naga in the central area cannot have already been fought and defeated. Otherwise the option to fire the cannon never appears.
- Once fired, it will make short work of all the nāga in the central area, and will clear the rubble leading to the fleet master's office. If you already fought the naga and cannot fire the cannon you will be unable to damage the rubble which is immune to all known attacks and magic, however you can still access the Fleet Master's office via the northern path, which eventually leads down to the office's second floor and a staircase to the main level.
- The northeastern corner contains the kitchen and the piers, where you can wipe out some looters for loot. The kitchen has the ladder to the rooftop with a work crane, and the scripted interaction - the submerged corridor:
- Going left leads to the hidden part of the rampart where you can find Yanass. Require Might 14 or a prybar.
- Going right leads to the dining hall, bypassing the group of nāga led by a Coral nāga shaman guarding the way across the water. Require an Athletics 8 check on all party members.
- The northwestern sector has the dining hall and engineering workshop. You can ascend to the ramparts over the northern gate wall, which leads directly to the lighthouse:
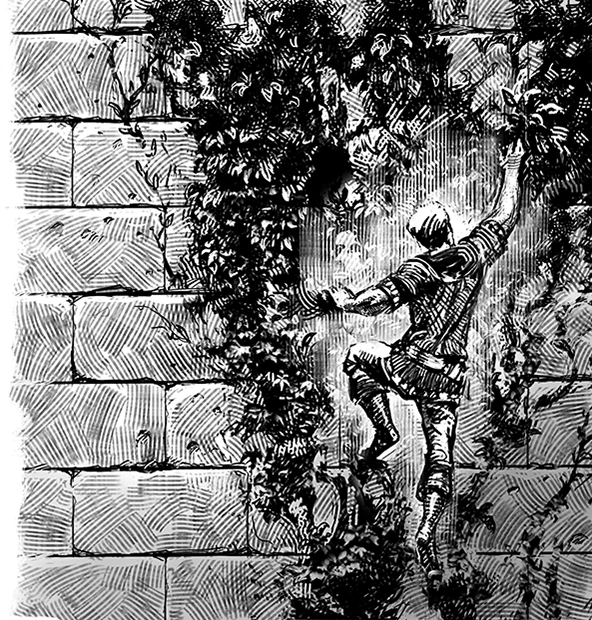
- Climbing the wall, requiring an Athletics 8 check on all party members. If any character fails, you will be unable to scale the tower, and the character with the lowest Athletics will get a Twisted Ankle (-20 Reflex).
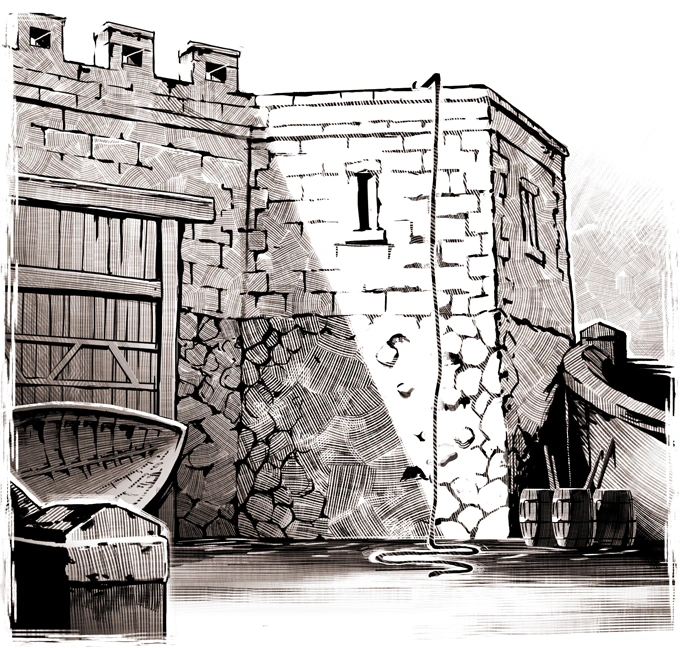
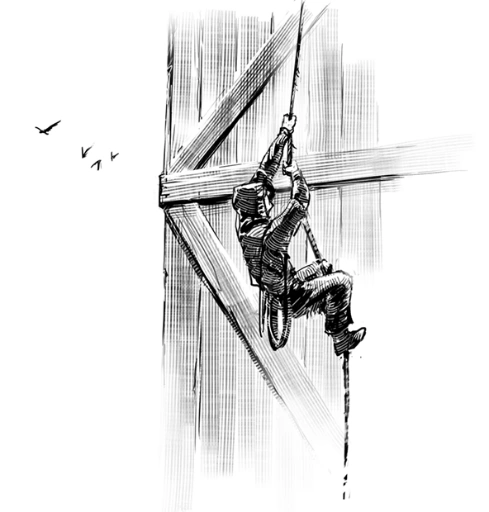
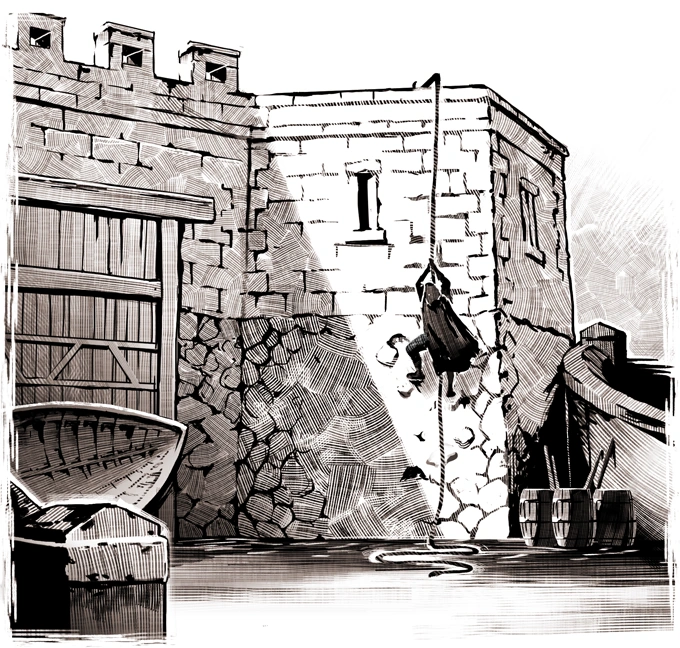
- Ascend using a Rope and Grappling Hook. However this method will make noise, calling two more nāga warriors jumping out of the water, you can quickly climb the wall before they find you or simply kill them.
- The central area crawls with nāga, so you might want to bypass it.
- The southwestern part contains the lighthouse and the fleet master's office. A pathway connects the roof of the engineering workshop to the roof of the office, where a couple of nāga archers await. From the office itself, you can head west up some stairs to reach the lighthouse.
- The central-southmost point of the map, by the broken boardwalk and just south of the group of nāga in the center, is empty, but a nāga shaman and warrior will jump out of the water when you approach the totem. You can get a rope and grappling hook from a chest in the corner if you're in need of one.
Characters[ | ]
Loot[ | ]
- Corlagon: At the top of the lighthouse.
- Kaz: Inside the Fleet Master's Office.
- Strand of Favor: Carried by Sugaan. Note: you can pickpocket another strand of favor off of Sugaan if you do so before proceeding to restore the Adra pillar.
- Exceptional Leather Armor: On a hidden body, crushed under Eothas' first left foot print.
- Bronze Hons, Bronze Ōas, Old Bronze Ōas, Brass Teos, and Silver Utokis, can be looted from each of the ash-turned corpses dotted around the area.
Gallery[ | ]
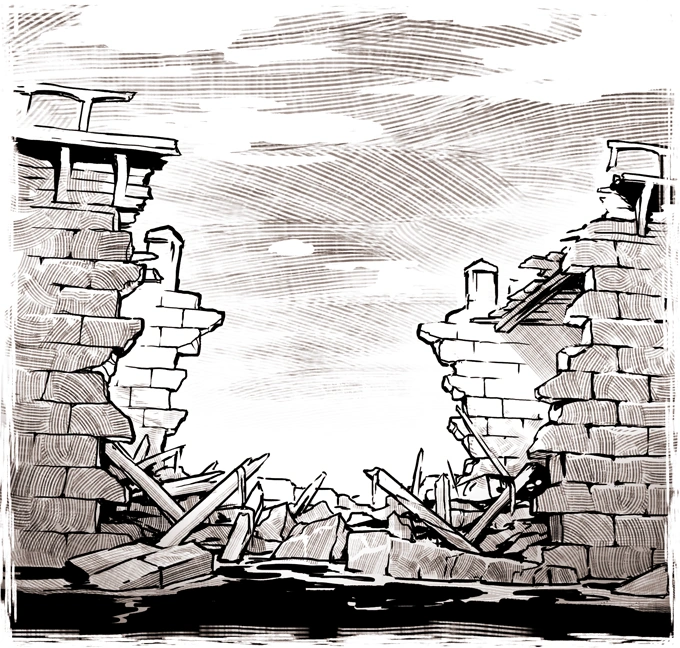
Crossing the broken section of wall to the north:
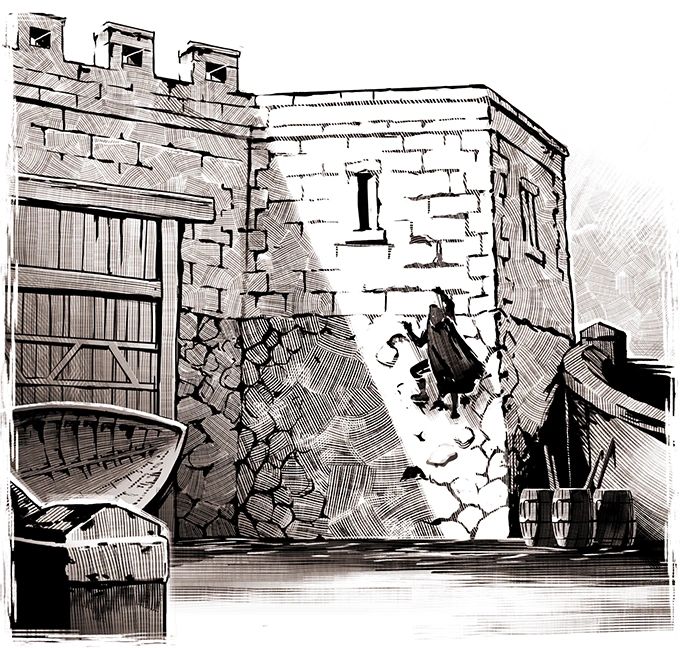
The brass bombard to the northeast:
Scaling a wall by the northern gate outside the dining hall:

Climbing up
Climbing down
Climbing with no rope
Failing to climb