Clîaban Rilag is a wilderness area and Engwithan ruin in Pillars of Eternity.
Background[ | ]
- See also: inscriptions and reliefs
An ancient temple to Berath and home to some of the Engwithans' most advanced animancy machines and foundries, the valley has seen plenty of traffic in its history. It was one of the centers of Engwithan animat manufacture, capable of mass-producing the magical warriors to provide the limited population of Engwith (depopulated after the creation of the gods) with superior weapons to use against their enemies, especially those who have not yet accepted the true faith. The factory was fully equipped with an adra farm that cultivated white adra eggs - containers for souls harvested from those selected for conversion - and an elemental forge based on designs cultivated under Od Nua, manufacturing the bronze suits and weapons that would be animated. The assembly halls allowed selected candidates to be quickly cleansed, sacrificed, and their souls transferred to freshly forged bronze suits.[1]
The facility was eventually abandoned by the Engwithans (or wiped out during Ondra's flooding of the world) and fell into disrepair. Although protected by Glanfathans, it saw a fair amount of traffic: The Pargrunen dwarves following Abydon's call were one of several salvaging parties to come through the area, and they made off with detailed studies of Engwithan soul machines and the automatons they created, leaving two of their own behind.[2] In more recent times, the valley was the site of three brutal battles between the forces of Readceras and Dyrwood during the Saint's War. The last battle was a slaughter of routed Readceran forces that consumed many lives, including that of Edér's brother, Woden Teylecg.
More recently, the facility's soul relay has been activated by Leaden Key operatives in a bid to engineer the Waidwen's Legacy and support Thaos' plan to discredit animancy. The age of the machines means that they need to be periodically recharged with souls, otherwise the Hollowing will fail. In 2823 AI, another group of operatives was sent to Rilag, after a child was born with its soul near Dyrford. Unbeknownst to the Leaden Key, the Watcher was pursuing Thaos and reaching Rilag provided them with a key clue regarding the Key's goals and methods of achieving them.[3]
Points of interest[ | ]
Exterior[ | ]
- The entrance to Clîaban Rilag can be accessed north of Dyrford Crossing on the World map. You will only be able to travel here if you've had it unlocked on your map during the main story quest Through Death's Gate.
- The Glanfathans under Sleafhota will attack if you attempt to enter the ruins.
- There is a broken bridge to the northwest that serves as an alternate entrance to the ruins. Interacting with it begins a scripted interaction with the option to ignore it or jump over. If you decide to jump over, anyone with Athletics of 3 or less will gain the affliction Sprained Wrist, lowering deflection by 15. Keep in mind that while exiting the ruins, if you decide to jump over this broken bridge again, anyone with Athletics of 3 or less will gain the affliction Twisted Ankle, lowering reflex by 25. Anyone who has already received one injury from these jumps will not receive the other.
- The camp by the bridge is where Fragments of a Scattered Faith conclude with Edér in the party.
Level 1[ | ]
- You begin in the western corner of the area, with the choice of entrance having a marginal effect on location. The chamber to the northwest, once you wade through the slimes and lurkers, has some minor loot and serves to connect with the areas deeper in the dungeon, eventually terminating at a collapsed bridge leading to the Engwithan machine at the heart of the dungeon.
- The other way leads to a locked level 7 armory in the center of the map, guarded by a pair of adra animats. It contains the Tiny Animat pet and Sura's Supper Plate. Then it terminates at the bridge.
- From the bridge you can follow the corridors to the entrance to the lower level, just past a room filled with the dankest of spores.
- There are several pillars with Engwithan writings on them, vaguely outlining the reasoning behind the creation of the animats. These will appear as just gibberish, unless the protagonist has gained knowledge of the Engwithan language from Icantha during Undying Heritage.
Level 2[ | ]
- You enter the lower level via a large, well-preserved Engwithan hall. This is where most animats were created, with well-preserved facilities dedicated to their creation surrounding a central chamber with the statues depicting the twin aspects of Berath.
- The first chamber to the right contains adra growing from a central pillar and spilling down the steps. Luminous, egg-shaped stones are nested within the rippling adra, cultivated as containers for Engwithan souls to be transferred into animats. Past the next corridor leading to the central area lies an elemental forge, used by ancient Engwithans to manufacture bronze suits for use in animats.
- The central chamber contains a statue of the twin aspects of Berath, carved meticulously out of adra. It connects the other two wings and contains an exit to the upper floor and the Engwithan machine that's the objective of the quest.
- The other wing contains three rooms that are responsible for assembly. The central room contains a ritual cleansing pool for the Engwithans selected to be put in the animat bodies. The one to the southwest is where candidates selected for animat conversion were sacrificed by a simple dagger blow to the heart, with their souls harvested into white adra eggs. The chamber to the northeast contains the final assembly room, where the bronze armor manufactured in the forges was combined with the souls from the adra eggs to create animats.
- As with level 1, understanding the glyphs requires to gain the knowledge of the Engwithan language.
- The exit door is to the northeast, with the Engwithan key needed to unlock it without Mechanics buried in the cleansing pool.
Level 1 (revisited)[ | ]
- This is where the quest concludes, as you interact with the machine and learn that the Leaden Key was dispatched to the facility to recharge the soul relay. You can exit the area by interacting with the opening to the northwest. During the scripted interaction, stop in the river tunnel and grab onto the edge; then send someone with Constitution 16 or Iverra's Diving Helmet to pick up the shiny thing. It is The Rose of Salthollow, a unique morning star. The encounter drops you in a natural cave on the north side of Level 1, from which (assuming you cleared the enemies out of here earlier) you can easily exit the ruins.
Characters[ | ]
- Sleafhota: A Glanfathan guarding the entrance to the ruins proper, along with several tribe members. They will attack if you attempt to enter the ruins.
- Looters: A pair of looters that will attack you during Fragments of a Scattered Faith. They are not especially difficult.
- Songsmith Roska: Found outside during Bounty: Songsmith Roska.
Enemies[ | ]
Exterior[ | ]
- Sleafhota
- Glanfathan Hunter
- Glanfathan Warrior
- Loot Leader
- Looter
Level 1[ | ]
- Corrupted Druid
Level 2[ | ]
Loot[ | ]
Notable loot[ | ]
- Readceran Standard Piece: Found in the mud near the camp during Fragments of a Scattered Faith.
- Sura's Supper Plate and Tiny Animat: On the armor rack in the locked room (difficulty 7) on level 1.
- The Rose of Salthollow: Can be obtained during a scripted interaction by the Engwithan soul machine. You will see a glint in the water, and a character with at least 16 constitution or Iverra's Diving Helmet must try and grab it while swimming.
Containers[ | ]
Exterior[ | ]
- Orlan's Bramble Ring
- Random food/drug/potion/lockpick/gem
- Random currency
- (Loot_NPC_Adventurer_Moderate)
Level 1[ | ]
- Random weapon
- Random gem
- (Engw_Lg_Weapons_3_4)
- Random potion/scroll
- Random gem
- (Engw_Consumable_5_6)
- Random potion/scroll
- Random gem
- (Engw_Consumable_3_4)
- Random weapon
- Random gem
- (Engw_Sm_Weapons_3_4)
- Random armor
- Random gem
- (Engw_Armor_3_4)
- Fine Stiletto
- Random food/drug/potion/lockpick/gem
- Random currency
- (Loot_NPC_Adventurer_Moderate)
Level 2[ | ]
- Random scroll/potion
- Random currency
- (Engw_Consumable_3_4)
- 1-2x Adra
- Engwithan Key
- Random armor
- Random helm
- Rack_Armor_3_4)
- Random weapon
- Random gem
- (Engw_Sm_Weapons_3_4)
- Random weapon
- Random gem
- (Engw_Med_Weapons_3_4)
Plants[ | ]
- Exterior
- 2x Springberry
- 2x St. Gyran's Horn
- Level 1
- 2x Burned Lady
- 2x Settler's Arrow
- 1x Skaenbone
Behind the scenes[ | ]
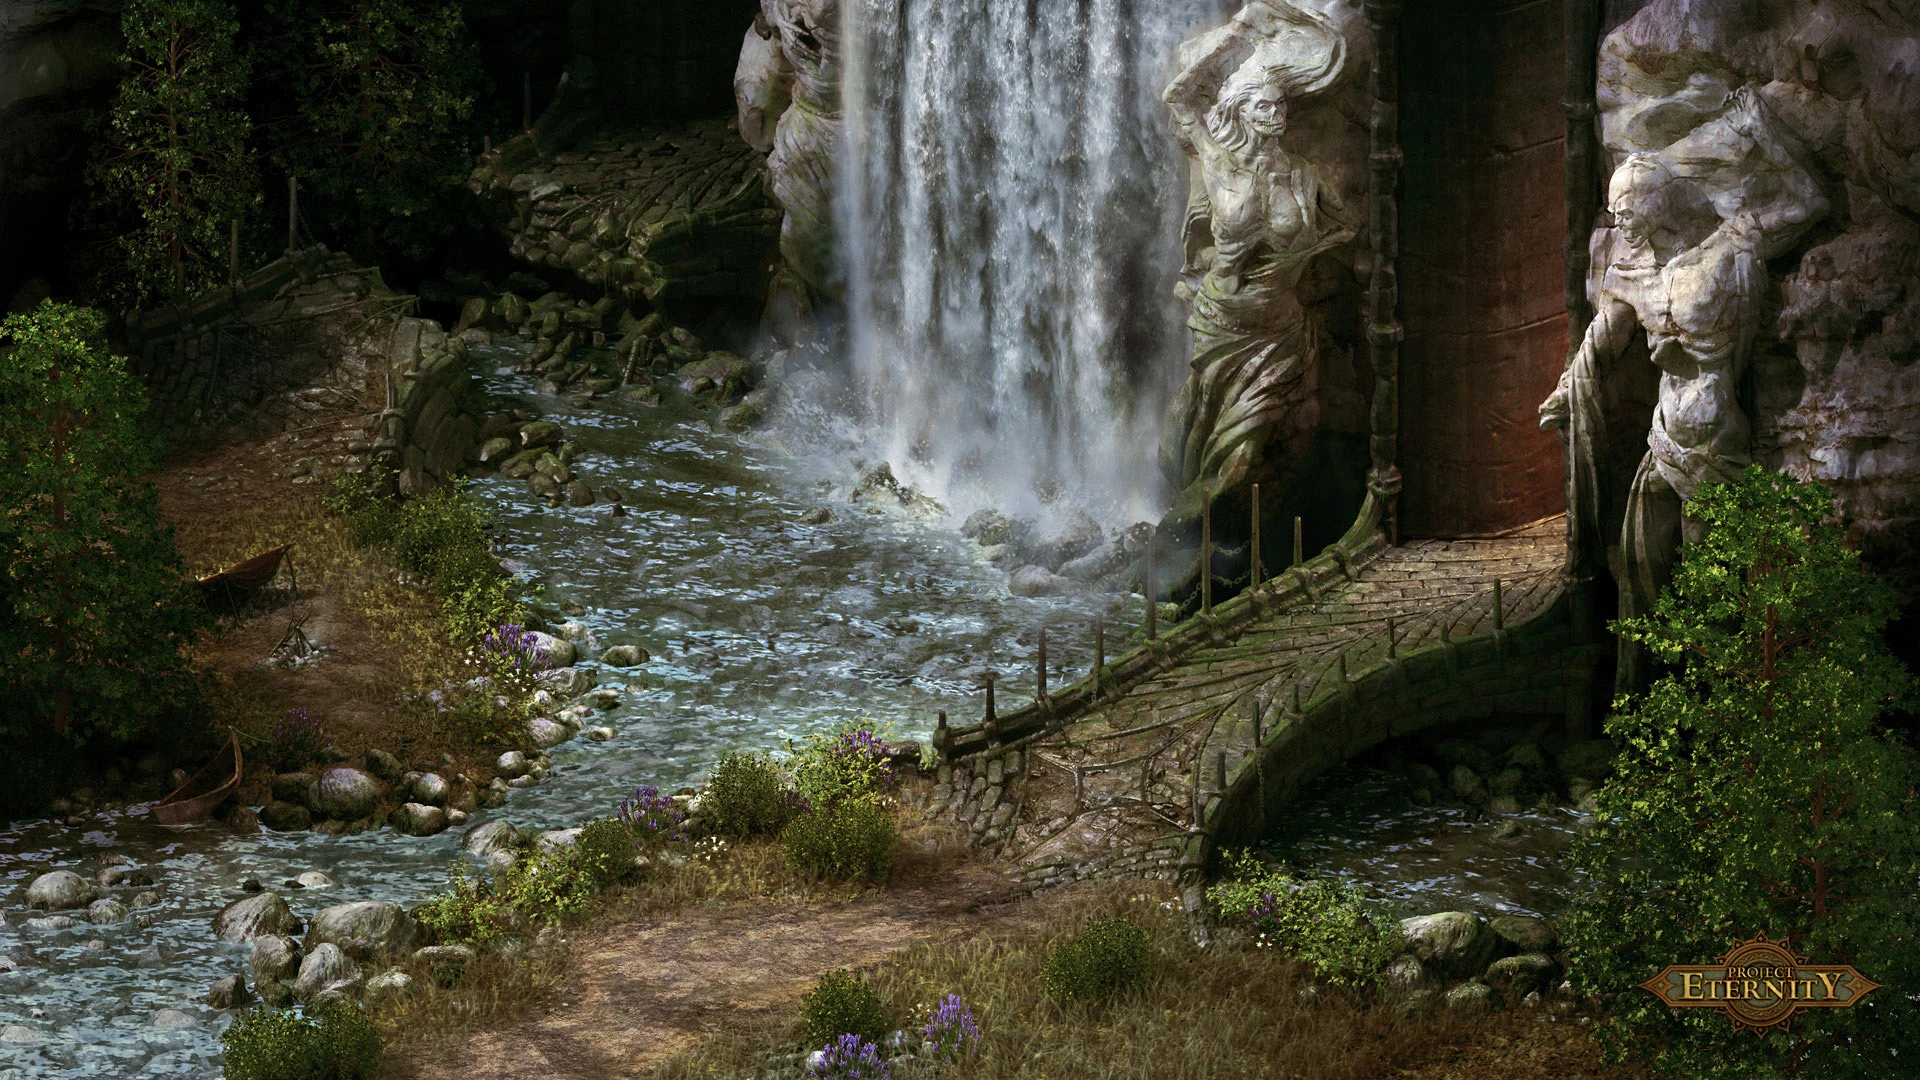
- The exterior area was the very first location created for Pillars of Eternity, rendered by Hector Espinoza. It remained virtually unchanged for most of the development phase and only received its name late in the cycle. Until then, it was called the Valley of Hector, in recognition of his masterwork.
- Each level of Clîaban Rilag contains developer commentary.
This level was actually a fairly late addition to the overall dungeon of Clîaban Rilag. What was once a two-level dungeon with a cave at the bottom floor, has now changed to a two-level dungeon with a large upper floor, and a smaller lower floor. What was particularly challenging was returning to this dungeon and coming up with a way of repurposing one of the floors, and creating a wholly new level from scratch. All the while keeping a uniform design throughout.
The motivation behind this choice was to make our dungeons feel more sprawling and cavernous. After making dungeon after dungeon, we began to learn how valuable the use of negative space was. Rather than sticking to a particular dimension and cramming as many rooms and corridors as possible into the design, we could make the dimensions much larger and use negative space to break up the rooms. The result is a dungeon that feels large, but takes up as much art resources as a level half its size.This level used to be actually the top floor of the dungeon, but we opted to go with a large first floor that was largely overgrown. We had the challenge of moving this area to the lower floor. Since we needed a giant soul machine added to the dungeon and didn't want to change much of the art already in this scene, we decided to go with a down-and-up flow of the level; that is to say the player must go down, and then back up to access another part of the dungeon. That way we could extend the top floor further - adding the soul machine - then, have the player go down into the bottom level in order to access that part of the map.
One of the goals of this particular scene that stayed from the original design was to tell the story of how animats in Engwithan culture were made. Each room, a difference process in how the subject was chosen, cleansed, and scarified for the greater good of their civilization. We didn't want to beat the player over the head with this either. If they were more interested in the dungeon crawl and loot, then so be it, the narrative shouldn't get in the way. But for players who really like to take in the scenery, we try and reward them for taking the time to absorb their surroundings by explaining some of the things about Engwithans they hadn't known before.Map[ | ]
Gallery[ | ]

The very first environmental screenshot
References
- ↑ Environmental descriptions and inscriptions in the facility.
- ↑ Annals of the Pargrunen
- ↑ Through Death's Gate